The ability to properly handle a rope or line is – or should be – an important aspect of diving, one that begins by having a fundamental knowledge of certain elementary knots and the purpose for which they’re used.
Generally categorised into three broad – and very arbitrary – groupings, it should first be appreciated that not all knots are knots. The major categories are: ‘Bends’ – the joining together of two rope ends; ‘Hitches’ – when a rope is secured to, or around, an object; and ‘Knots’ – the forming of a knob by turning and looping the rope in on itself.
Ranging from the strictly practical to the purely decorative, knot tying is both an art and a science; a skill that – given the choice between one or other of the many thousands of knots designed for specific applications – few people ever master in its entirety.
Knowing the, ‘Simple Six’ is, however, an important first step towards greater proficiency in knot tying and ones that, at some stage, will stand a diver in good stead.
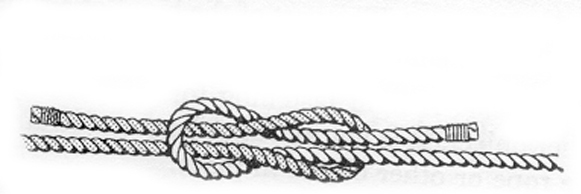
Reef Knot (or Square Knot)
The most ancient and commonest method for joining two ends of rope together, (as when reefing in a sail) a properly tied reef knot has two major disadvantages: It will not hold together well if the two rope ends are of different size or materials; and it tends to jam under tension.
It is made by holding the two rope ends in the left and right hand respectively; pass the right hand end over and under the left hand end, and then pass the left hand end over and under the right hand end to form a square knot. (When tied improperly the ‘reef knot’ becomes a ‘granny knot’ – an untidy looking knot that doesn’t lay flat and that either slips easily or, when tension is placed on just one end, has a tendency to jam.)
Bowline
One of the most useful knots to know, there are many variations on the basic form. Because it cannot slip it is the simplest of the knots to make when a lifeline is required to be tied around a person’s body.
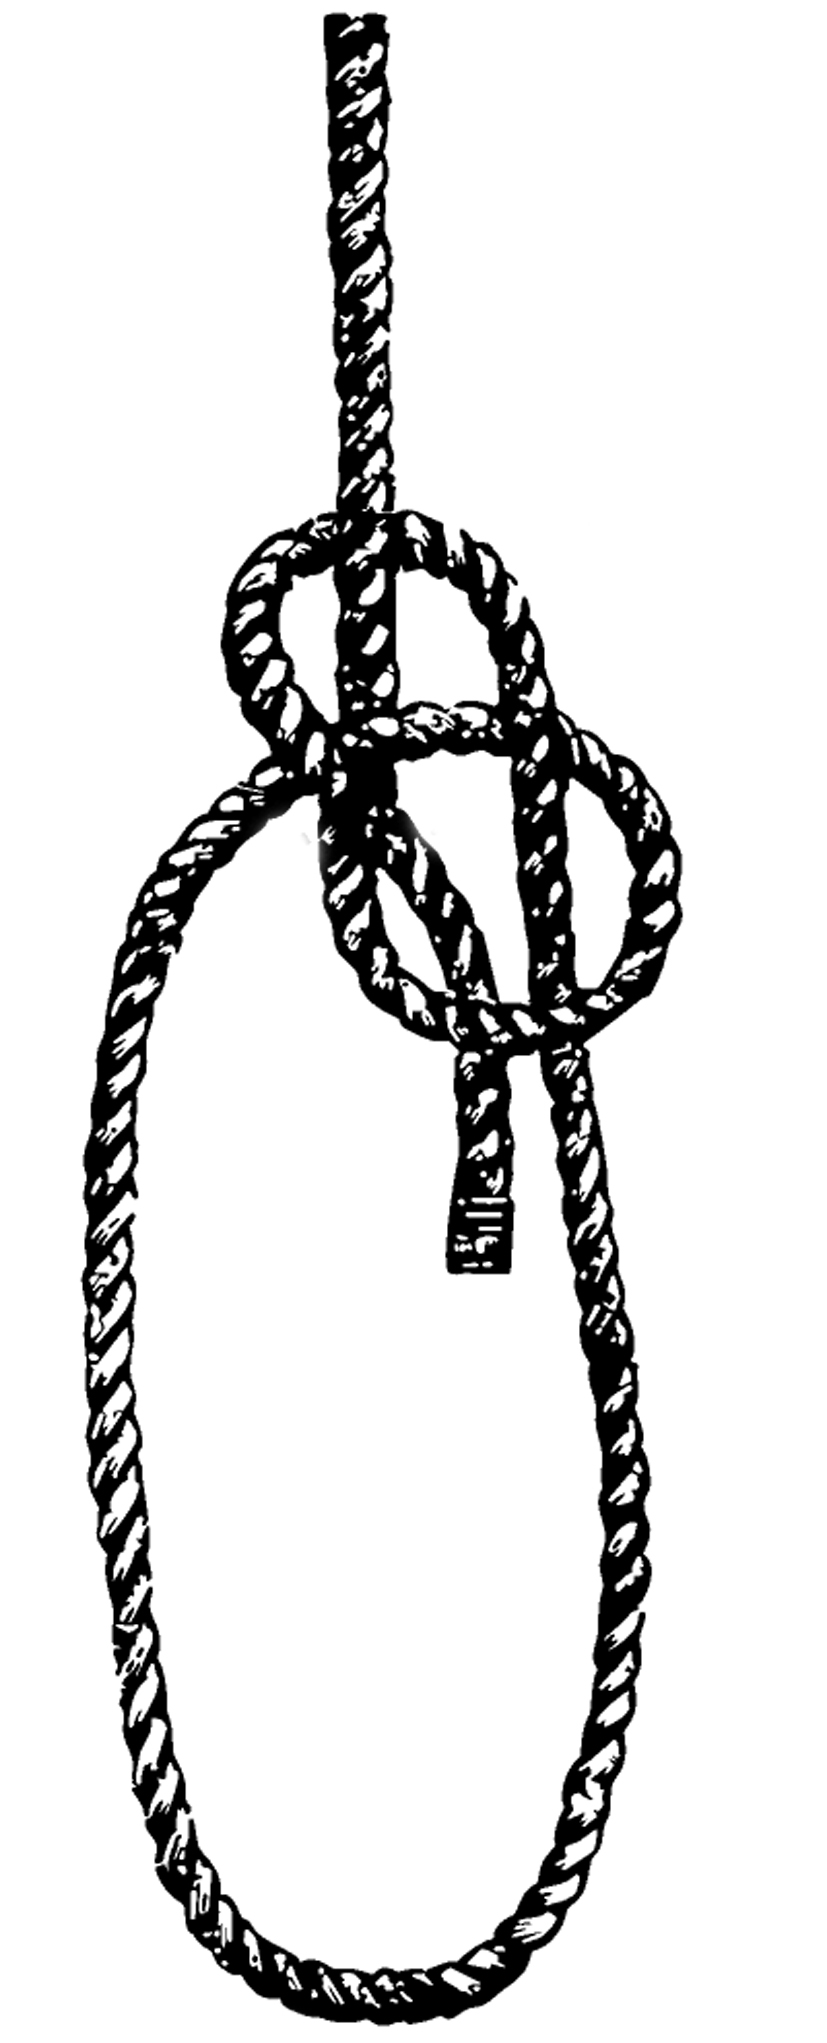
It is best formed by passing the ropes end from the left side, behind and around the body to form a bight, or loop. With the rope’s end held in the right hand, bend the standing, or main part, of the rope away from you to form a small loop; pass the free end up through that loop, take it to the right and around and behind the standing line and pass it back through the loop. A seemingly universal mnemonic for tying the bowline is to regard the rope’s end as a rabbit. The rabbit pops up out of its burrow, (the loop) goes behind the tree, (the standing part of the line) to relieve itself, before continuing around the tree and popping back down its burrow again. (Hey. I’m only passing on what I’ve heard – and it’s not necessary to say it out loud in mixed company.)
Sheet Bend (Swab Hitch, Becket Bend, or Weaver’s Bend)
The simplest method of tying – or ‘bending’ – together two lines of different diameters or materials, the Sheet Bend holds far more securely than the Reef Knot and has been used for centuries in the making of fishing nets.
Form a bight in the end of one of the lines to be joined. Pass the free end of the second line up through the bight and around and behind it. Continue to bring the free end across the top of the bight, under itself and again over the top of the bight to complete the bend.
Clove Hitch (or Ratline Hitch)
Employed to secure a boat’s painter to a post or piling, or to secure small diameter lines to a larger one, the Clove Hitch is effortlessly removed once tension on the standing line is eased.
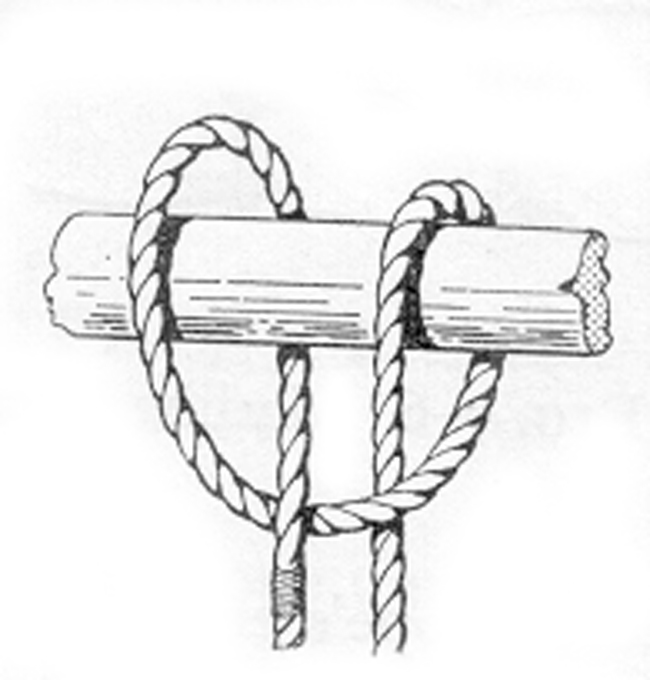
The Clove hitch is quickly made by forming a bight a little way in from the line’s free end and passing this over the top of the piling. Form a second bight in the remainder of the free end and place this on top of the first so that the rope’s end is locked beneath itself.
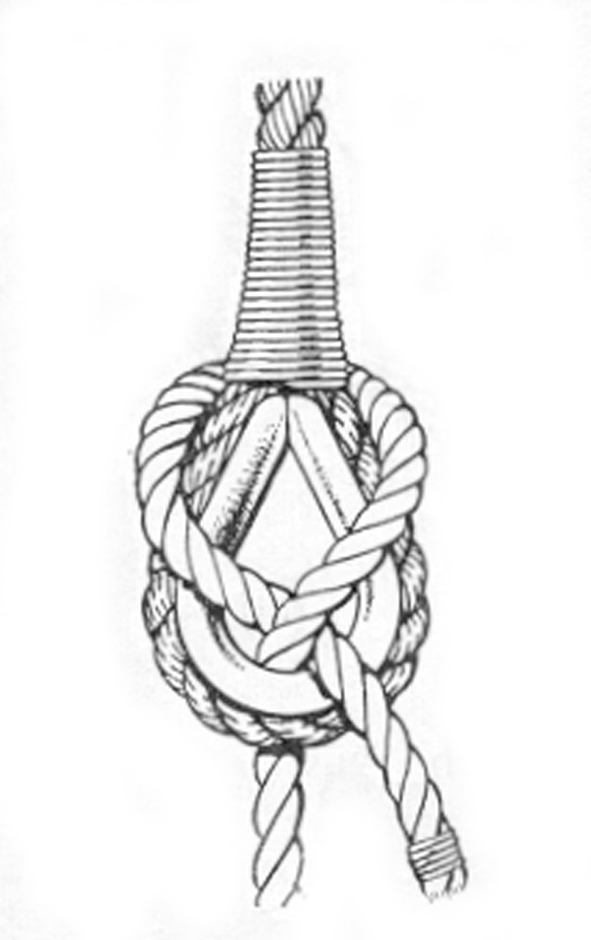
Sheepshank
A method of quickly and temporarily shortening a rope that will need to be lengthened again, it has been said the Sheepshank is now used about as often as the crossbow.
Best held in place when there is tension on the line, the Sheepshank is formed by gathering the amount to be shortened and laying it in a large flat loop against the standing ends of the line. Form half hitches around each of the two bights and, for greater security, pass toggles through each of the bights so that they’re held in place by the standing ends.
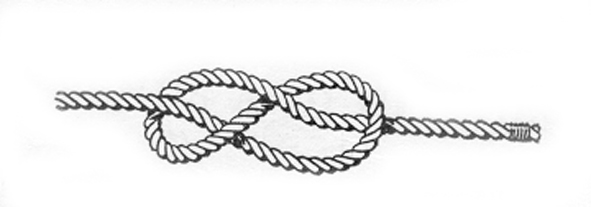
Figure-of-Eight Knot
A ‘stopper’ knot, (one used to prevent a line running out through a block, or to temporarily prevent the frayed end of a line from unravelling) the Figure-of-Eight knot has been described as the perfect knot because of its symmetry. It is quickly and easily formed by turning the rope’s end into and around itself to form …. a figure eight.
Knot Now
Once a diver has mastered these simple knots it’s easy to begin building on their basic structures to produce knots, bends and hitches that meet specific rigging needs. And let’s face it. You never know when a ‘Snotter’ might come in handy when diving on a wreck.
—ENDS—
Categories: Techniques

Leave a comment